Saturday, November 1, 2014

Cake Pops!


(Just a note to my regular readers....some of the candies used or shown aren't gluten AND dairy free.  Be careful and read the labels.  I created these for a workshop at a ladies retreat so not everything had to be gluten free.  Often those of us who are gluten free have to go without "fun" treats so I thought this would be a fun way to create our own.  I hope this blog post will inspire you to create your own by showing you how easy it is to make cake pops that are super cute.  We can have fun, cute, and yummy treats too!!)

You will need:
1 cake mix
Ingredients to make cake
1/3-1/2 cup of pre-made frosting
Lollipop sticks
Almond bark or candy melts
Sprinkles, chocolate chips, nuts, or any other toppings of choice

Bake cake according to package directions.  It doesn't matter what size cake you make but I would recommend doing it in a 9 x 13" pan just so there are fewer "crust" portions on the cake (as opposed to two 8-inch rounds or cupcakes).  Any size cake will work though so don't fret.  Allow cake to cool completely

Cut the cake into chunks (how big or small doesn't really matter--you are just cutting it into pieces so that it is easier to work with).  Here you have two options.  The first is to just crumble the cake up by hand until you have small crumbs.  The second is to put the cake chunks into a stand mixer and let the mixer do all the work for you.  This is my preferred method.  :o)  Either way, mix the cake chunks until they are crumbly and mix in 1/3-1/2 cup of pre-made frosting.  The mixture should come together and make a dough-like consistency.  It should look something like this when it is ready:


Next, break off portions of the "dough" and roll them into balls.  You can just do random sizes or use a melon baller or cookie scoop to do this.  Roll them until they are nice and round.  Continue until all "dough" is used up.


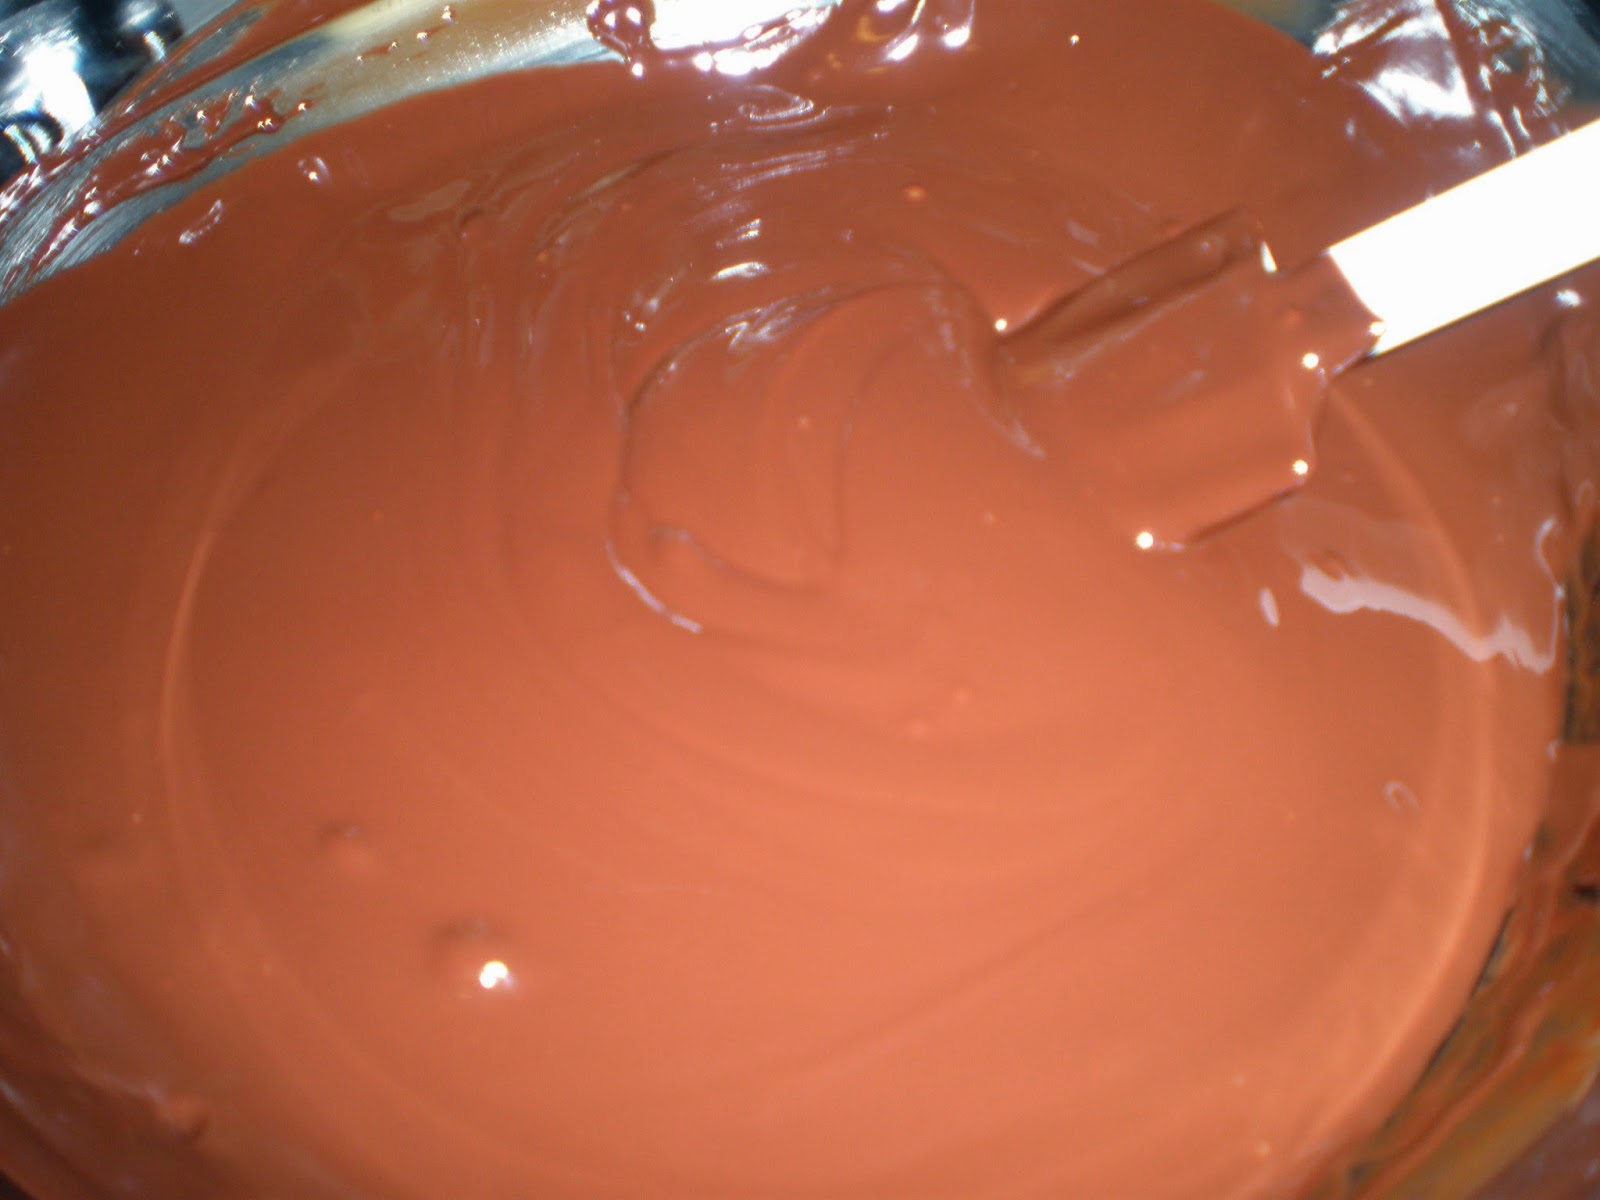
Now it is time for the fun!  Place chopped almond bark (you can use white or chocolate) in a glass or microwave-safe bowl.  Microwave at about 30% power for 3 minute increments.  Stir and return for another 3 minutes at 30% power until thoroughly melted.  DO NOT OVERHEAT!  Overheating chocolate or almond bark will cause it to get thick and hard to work with or worse yet will just cause it to burn.  You should be able to take the bowl out of the microwave without hot pads.  If it is so hot that you can't touch the bowl or the chocolate then you over-heated it.  If you are using candy melts the same melting process applies.  Almond bark is available at your local grocery store (or even Wal-Mart) and Candy Melts are available at a lot of craft-type stores such as JoAnn's, Hobby Lobby, or Michaels.  These same craft stores carry the lollipop sticks as well.

Once your chocolate is melted check the consistency.  You may need to add a little bit of oil (canola or vegetable oil) to the chocolate to thin it out a little bit.  Don't go crazy here but you don't want the chocolate too thick either--if it doesn't seem to be dipping well add more oil.

Dip your lollipop stick just slightly into the chocolate.  Put the lollipop stick into your cake balls--pushing it almost all the way down into the whole ball.  Allow the chocolate on the stick in the cake ball to set slightly before dipping--this helps the cake ball stay on the stick when you dip it into the chocolate.  Once the chocolate is set slightly, dip the cake ball completely into the melted chocolate in your bowl.  Place the cake pop into sprinkles if desired or place on parchment paper to set.  Or, you can set the stick in a piece of styrofoam or a cardboard box to create a perfectly round cake pop.


Wednesday, July 16, 2014

Veggie Pizza


First we will start with Wonderfully Made Gluten Free's pizza crust.  You can purchase it at the Waterfront Hy-Vee in Iowa City, Wilson Avenue Hy-Vee in Cedar Rapids, or the Lindale/Collins Road Hy-Vee in Cedar Rapids.  You will find them in the health market freezer section and they come packaged like this:


Remove the pizza crust from the packaging and place it on a pan, large plate, or serving dish.  Allow to thaw out completely.  (It tastes even better warm so you can also warm it up in the oven slightly--follow directions on package but for this recipe just warm the crust without the cream cheese or toppings--put those on afterwards.)
In a bowl combine:
4 ounces softened cream cheese (you can use a dairy free alternative if you can't tolerate dairy)
4 ounces sour cream (or dairy free alternative)
1 Tablespoon dried parsley
3/4 teaspoon dill weed
1/4 teaspoon garlic powder
2 teaspoons dried onion flakes
1/4 teaspoon black pepper
1 teaspoon dried chives
1/2 teaspoon salt
Stir together well and spread on top of pizza crust.  It should look like this (sorry for the bad picture--the cream cheese mixture doesn't even look white).


If you don't wish to use cream cheese for the topping then you can use a pre-made guacamole or hummus spread to go on top instead.

Sprinkle or place whatever assortment of fresh vegetables on top of the cream cheese mixture.  You can use carrots, tomatoes, zucchini, broccoli, cauliflower, onions, red (or yellow or green) peppers, mushrooms, cucumbers, olives, or anything else you can think of.  I used 1 cup chopped carrots, 1 cup chopped red pepper, 1 1/2 cups chopped broccoli, and 1 cup chopped cauliflower for this particular pizza.  Serve immediately.


Monday, July 7, 2014

Meyer Lemon Scones


Meyer Lemon Scones

Preheat oven to 350 degrees.

In a bowl combine:
1/2 cup cream of coconut
1/2 teaspoon baking soda
1 teaspoon lemon juice
Mix together and set aside.  It will look something like this:


In another larger bowl combine:
1 cup potato starch
1 cup coconut flour
1/2 cup tapioca starch
1/2 cup sugar
1/2 teaspoon salt
1 teaspoon baking powder
1/2 teaspoon xanthan gum

Cut in 1/2 cup cold Earth Balance spread (or real butter if you can tolerate it).  Use a pastry blender or fork to mix the butter in.  It should look like this when you are done:


Mix 2 eggs and 1/2 cup Meyer lemon juice together and pour over flour mixture.  Add the cream of coconut mixture as well and stir slightly to combine.  Don't stir too much, but do make sure that you get everything mixed together.  If the mixture is still really dry add a little bit more Meyer lemon juice (2-4 tablespoons).  Scoop the mixture out with a round cookie scoop and place on a baking sheet lined with parchment.  You can make any size you want.  I made mine fairly large so I only was able to get about 10-12 scones from this recipe.  You can definitely make them smaller but you will need to adjust the baking time.  The rounds will look like this:


Wet your hand and flatten slightly.


Bake at 350 degrees for 15-25 minutes (depends on the size you make them).  I baked my large ones for 25 minutes.


While scones cool slightly mix up the glaze.
Combine 2 cups powdered sugar with 2 tablespoons Meyer lemon juice in a small glass bowl.  Mix together well and then pop in the microwave and microwave for 15-20 seconds.  You just want to warm it up slightly to make it drizzle easier.  Drizzle over the scones and enjoy!


Wednesday, April 23, 2014

Maple Pecan Scones


Maple Pecan Scones (gluten and dairy free!!!)

Preheat oven to 350 degrees.

In a bowl combine:
1/2 cup cream of coconut
1/2 teaspoon baking soda
1 teaspoon lemon juice
Mix together and set aside.  It will look something like this:

In another larger bowl combine:
1 cup potato starch
1 cup coconut flour
1/2 cup tapioca starch
1/2 teaspoon salt
1 teaspoon baking powder
1/2 teaspoon xanthan gum

Cut in 1/2 cup cold Earth Balance spread (or real butter if you can tolerate it).  Use a pastry blender or fork to mix the butter in.  It should look like this when you are done:


Mix 1 egg and 1/2 cup maple syrup together and pour over flour mixture.  Add the cream of coconut mixture as well and stir slightly to combine.  Don't stir too much, but do make sure that you get everything mixed together.  If the mixture is still really dry add a little bit of water (1-2 tablespoons).  Gently stir in 1/2-3/4 cup chopped pecans.


Using a large cookie scoop, scoop out the batter/dough and place balls onto a parchment-lined baking pan.  I made mine fairly big but you can certainly make them smaller, just adjust baking time.  The balls will look like this:


Wet your hands with water and flatten the balls down slightly.


Bake in preheated oven for about 20 minutes.  Again, the time will depend on the size of your scones--mine were fairly big (about 4 inches across so they took the full 20 minutes).  Remove from oven and place on wire rack to cool.  While they are cooling, use a pastry brush and brush the tops of the scones with some of that delicious maple syrup.  You can do this more than once if you want....it makes them delicious!!


Enjoy!


Tuesday, March 25, 2014

Decadent Chocolate Cookies


Who is ready for some killer chocolatey cookies?  It is still snowing so I think some chocolate and a cup of coffee is definitely the thing for today.  These are probably the chocolatiest (yes, I just made that word up!) cookies you can make.  They are a little bit of work but well worth it in the end.  Oh, and don't tell your friends they are gluten free--they will NEVER know!!!  :o)

Decadent Chocolate Cookies
1 cup butter (if you can't have dairy, use Earth Balance "butter" spread--works just as well)
3 cups chocolate chips
8 ounces unsweetened chocolate

Melt all of the above and cool until tepid.  Be careful in melting chocolate in the microwave--it works but you must do it slowly and at low power and stir often.  Chocolate burns very quickly.

 
Meanwhile, whip 8 eggs and 3 cups sugar together until ribbon stage (until they are light in color--about 6 minutes).    


While eggs are whipping...
Stir 1 1/2 tablespoons of instant coffee in 1/4 cup warm water.
Add 2 tablespoons vanilla.

In another bowl combine
1 cup gluten free flour OR almond flour OR hazelnut flour OR pecan meal/flour
1 teaspoon baking powder
1 teaspoon salt

Add coffee/vanilla mixture to egg mixture.  Pour 1/3 of the chocolate mixture into the egg/sugar mixture and stir together by hand--be sure to get everything incorporated and to scrape the sides of the bowl well.


Add another 1/3 of the chocolate mixture and repeat only this time fold it in, trying not to deflate the egg too much.  Repeat again with the last 1/3 of the chocolate mixture.  Then stir in the flour/baking powder/salt mixture.  Lastly, add 3 cups chocolate chips (I prefer the mini chocolate chips but regular ones work just as well), and 3 cups chopped pecans.  Place in the refrigerator overnight.


Preheat oven to 350 degrees.  Using a cookie scoop, scoop the dough out onto parchment lined cookie sheets.  Bake for 12-15 minutes or until top starts to crack.  DO NOT OVERBAKE.    


Wednesday, December 25, 2013

Raspberry Doughnuts


A fresh doughnut (still warm with frosting dripping down the sides), a hot cup of coffee, and a good book in the morning....what could be better?  These are just little things (or gifts) that the Lord blesses us with--blessings along the way that we don't deserve but He loves to give us.  And this morning as I'm writing this I'm thinking of the best Gift that God gave us--Himself--coming so long ago wrapped up in human form as a little baby.  "Behold, the virgin shall conceive and bear a son, and they shall call his name, Immanuel (which means, God with us)."  Matthew 1:23

Raspberry Doughnuts

You will need some doughnut pans for this recipe.  I purchased mine from JoAnn Fabrics over several weeks using 40-50% off coupons.  The ones I purchased were made by Wilton but you can find a variety of different ones.  An example of one can be seen at this link:  doughnut pans.  I think Amazon would have them cheaper if you are going to pay regular price for them....or better yet, watch at garage sales or re-sale shops for them.  

Preheat oven to 325 degrees.  Grease four 6-count doughnut pans (the regular sized ones).  If you don't have enough pans to do a whole batch, cut the recipe down or else bake them and re-use the pan over.  The batter will still be okay if it sits but it does yield a much better product if it is baked right away.

Sift together:
2 cups gluten free flour (a blend that contains xanthan gum already)
1/2 cup potato starch
1 cup sugar
1 Tablespoon baking powder
1/2 teaspoon salt

Combine in another bowl:
3 eggs
3/4 cup water
2 T. oil
1 teaspoon vanilla
1 Tablespoon lemon juice
1-2 teaspoons raspberry extract
(optional--a couple drops of red food coloring)

Pour liquid ingredients over the dry ingredients.  Whisk or stir together well.  Pour the batter into a re-seal-able bag and cut a small portion of the bottom corner off to create a piping bag.  Pipe the batter into the greased pans (each doughnut "well" should be about 2/3-3/4 full).  Place into preheated oven and bake for 10-15 minutes.  They are done when a toothpick inserted comes out clean.  Remove doughnuts from the pan and cool on a wire rack.  (I like to put parchment on top of my wire rack for this recipe.....you'll see why in a minute--it makes clean-up much easier!!)

* Just a note about the raspberry flavoring:  There are several different kinds out there.  I used a raspberry paste (sorry, I can't give you the details for obtaining this because it is only available commercially).  If you use regular raspberry flavor then 1-2 teaspoons should work just fine but definitely adjust it to suit your personal taste.  There are also candy flavorings available but these are typically oils and are much stronger than regular baking flavorings--these will work but you will have to reduce the amount to 1/2-1 teaspoon.

-


Glaze
1 1/2 cups powdered sugar
1 teaspoon raspberry flavor
1/4-1/2 cup water or milk
optional--1-2 drops red food coloring

Combine all of the above together and whisk to remove any lumps and create a smooth glaze.  This recipe is only a guideline--you can make it as thick or as runny as you wish.  Pick up each doughnut and dip the top into the icing.  Allow to drip slightly over the icing bowl and then return to the cooling rack to dry.  If you wish, you can add sprinkles at this point as well (why not add some more fun?!).  You can also make the icing a little thicker and pipe it out of a piping bag or just drizzle over the top.


  Enjoy!!!